How to Make a Digital Calendar: A Complete Step-by-Step Guide
Are your sticky notes and paper planners failing you? You’re not alone—over 70% of professionals now use digital calendars to stay organized every day.
Creating a digital calendar is easy and efficient. With the right tools and steps, anyone can build a personalized planner that works across devices, streamlines scheduling, and boosts productivity.

Digital calendars are taking over traditional planning for good reason. They’re flexible, customizable, and perfect for individuals, families, or businesses that want real-time updates and seamless coordination. In this post, I’ll walk you through exactly how to make your own—from tools to templates, syncing to scheduling.
What You’ll Need to Get Started?
Tired of flipping through disorganized paper schedules? Digital tools are here to help you bring clarity and control.
You’ll need a digital calendar app, optional design tools, and a clear idea of how you plan to use the calendar—personal, family, or business use.

You can start simple with apps like Google Calendar, Microsoft Outlook, or Apple Calendar. For DIY custom calendars, try Canva or Google Slides. Coding knowledge can help if you want to build something entirely unique, but it’s not required. Most people find what they need in tools they already use. I always suggest starting with the platform you’re most familiar with and adding layers of customization as needed.
Step 1: Choose Your Platform for Your Digital Calendar
Feeling overwhelmed by all the calendar platforms? Let’s make sense of your choices.
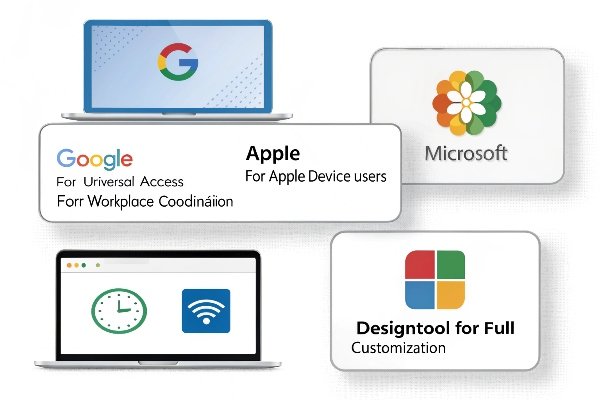
Choose a platform that fits your lifestyle: Google for universal access, Apple for Apple users, Microsoft for workplace coordination, or a design tool for full customization.

Let’s break it down:
| Platform | Best For | Pros | Cons |
|---|---|---|---|
| Google Calendar | Cross-device, universal use | Free, easy sharing, integrates well | Requires internet for full use |
| Apple Calendar | iOS/macOS users | Native app, great UI | Limited cross-platform support |
| Microsoft Outlook | Businesses using MS suite | Strong integration, professional | Interface less intuitive |
| Canva/Slides | Full design control | Highly customizable | Manual updates required |
When choosing, think about your daily habits. If you use Gmail, Google Calendar is likely your best bet. If you manage teams with Microsoft tools, Outlook is the obvious choice.
Step 2: Design Your Calendar Layout
Design affects how you feel using your calendar. Make it clean, functional, and tailored.
Pick a layout that matches your planning style—monthly for overviews, weekly for tasks, or daily for tight scheduling. Use consistent colors and fonts to stay organized.

Good design isn’t about being fancy—it’s about being useful. I always start by asking, "What do I need to see at a glance?" Some prefer a big-picture monthly view; others like breaking down tasks into daily steps.
When designing:
- Colors: Use one for each category (work, family, self-care, etc.).
- Fonts: Keep it clean and readable. Avoid decorative fonts.
- Layout Options:
- Monthly: Best for tracking appointments and big events
- Weekly: Great for task management
- Daily: Ideal for time-blocking and deep focus
Digital templates can help you get started fast, especially on Canva. If you want full control, design your own layout with grids and headers in Google Slides or Excel.
Step 3: Adding and Customizing Events
The real power of digital calendars is in the details. Events bring your calendar to life.
Add events manually or pull them from emails. Use categories, color tags, and reminders to keep everything organized and easy to scan.

You can add events manually or connect apps like Zoom, Gmail, or task managers so events are added automatically. I use color coding for different life areas. Blue is work, green is health, red is family. This makes it easy to balance priorities.
Reminders are your best friend. Use push notifications, emails, or even SMS alerts. Also, don’t forget to set recurring events like weekly meetings or monthly reports. This saves time and avoids missed tasks.
Most calendar platforms let you create multiple calendars within one account—one for work, one for family, one for hobbies. Toggle them on or off depending on what you need to see.
Step 4: Syncing Your Digital Calendar with Other Devices
If your calendar isn’t updated across devices, it won’t help much. Syncing solves this.
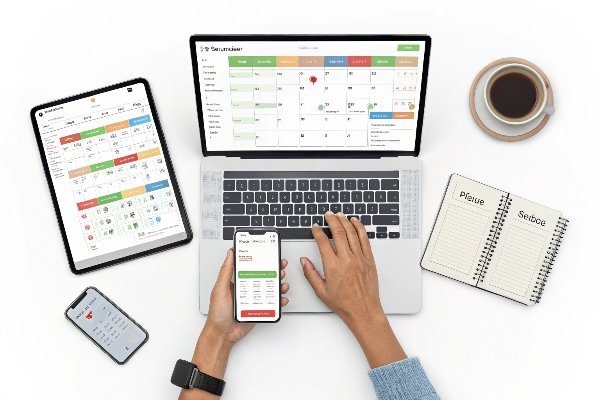
Sync your calendar using your platform’s built-in tools to keep it updated on your phone, laptop, and even your smartwatch.

On Google Calendar, use your Gmail login to auto-sync across devices. On Apple, iCloud keeps your data updated between iPhone, iPad, and Mac. Microsoft Outlook uses your Microsoft account. Most apps even support third-party sync tools like Zapier if you need deeper integration.
I rely on syncing to stay sane. When I add a client meeting on my laptop, I want to get notified on my phone—no double input. It also makes collaboration easier if you share a calendar with your team or family. Everyone sees changes instantly.
Syncing works best when you:
- Use one main calendar tool
- Log in with the same account everywhere
- Enable auto-sync in your settings
Conclusion
Creating a digital calendar is simple, but the impact is huge. It organizes your life, helps manage tasks, and keeps everything in sync.
Ready to make your digital calendar today? Here’s a list of the best tools to get started—or reach out and let us help you build one that fits your business.
Visit www.techfamilysolution.com or email Luna Wang at techfamilysolution@gmail.com for a free consultation.
