How to Build a Digital Calendar from Scratch?
Building a digital calendar from scratch can seem overwhelming, especially with so many tools and technologies available. But with the right approach, it’s entirely achievable—even for beginners.
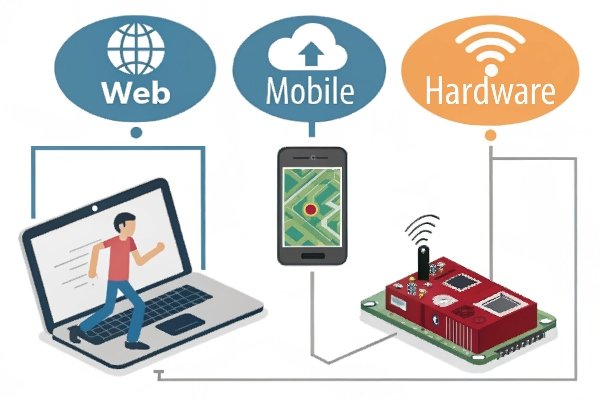
To build a digital calendar from scratch, you’ll need to choose your platform (web, mobile, or hardware), select the appropriate tools (like JavaScript for web or Raspberry Pi for hardware), and follow a step-by-step process that includes designing the interface, setting up the backend, and integrating features like event creation and notifications.

Creating a digital calendar isn’t just about coding; it’s about understanding your users’ needs and delivering a solution that fits seamlessly into their daily lives. Let’s dive into the specifics.
What Platform Should You Choose for Your Digital Calendar?
Choosing the right platform is crucial. It determines the tools you’ll use, the user experience, and the overall functionality of your calendar.
The platform you choose—be it web, mobile, or hardware—depends on your target audience and the features you want to offer. Web platforms offer broad accessibility, mobile apps provide on-the-go convenience, and hardware solutions like Raspberry Pi offer dedicated, always-on displays.
Web Platform
- Pros: Accessible from any device with a browser, easier to update and maintain.
- Cons: Requires internet connection, may have performance limitations.
Mobile Platform
- Pros: Offers push notifications, offline access, and integration with device features.
- Cons: Platform-specific development (iOS vs. Android), requires app store approvals.
Hardware Platform
- Pros: Dedicated device, customizable hardware, can be always-on.
- Cons: Requires physical components, more complex setup.
How Do You Design the User Interface for a Digital Calendar?
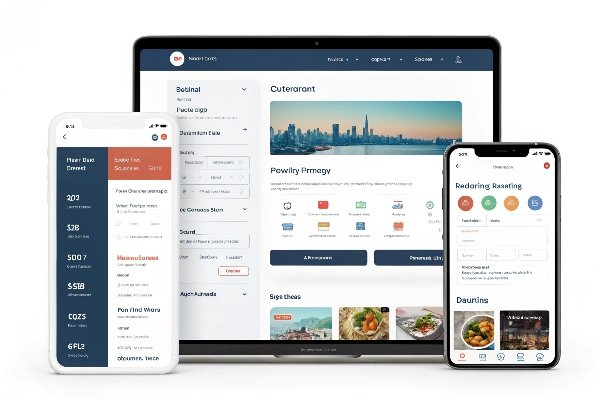
A user-friendly interface is essential for any digital calendar. It ensures users can easily add, view, and manage their events.
Designing an intuitive UI involves creating clear layouts, using familiar icons, and ensuring responsive design for various devices. Tools like Figma or Adobe XD can help prototype and test your designs before development.
Key UI Components
- Calendar View: Monthly, weekly, and daily views.
- Event Creation: Simple forms with fields for title, date, time, and description.
- Navigation: Clear buttons or gestures to move between dates.
- Notifications: Visual cues for upcoming events.
Design Tips
- Use consistent color schemes.
- Ensure accessibility with readable fonts and contrast.
- Incorporate user feedback to refine the interface.
What Backend Technologies Are Suitable for a Digital Calendar?
The backend handles data storage, user authentication, and business logic. Choosing the right technologies ensures scalability and reliability.
Popular backend technologies for digital calendars include Node.js with Express for JavaScript developers, Django for Python enthusiasts, and Firebase for real-time database needs.

Backend Components
- Database: Stores user data and events. Options include MongoDB, PostgreSQL, or Firebase.
- API: Facilitates communication between frontend and backend.
- Authentication: Manages user login and security.
Integration
- Use RESTful APIs for standard operations.
- Implement OAuth for third-party calendar integrations like Google Calendar.
How Can You Integrate Notifications and Reminders?
Notifications keep users engaged and informed about upcoming events.
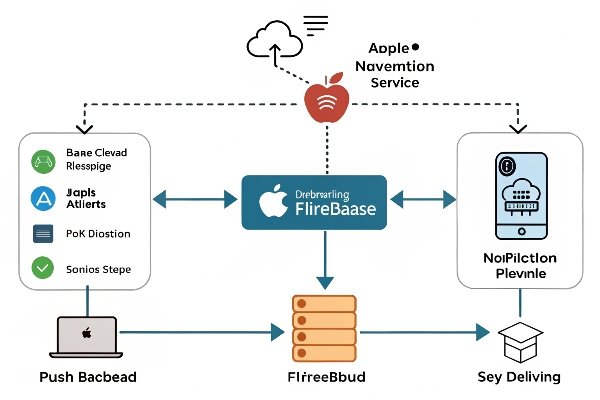
Integrating notifications involves setting up scheduled tasks on the backend and using services like Firebase Cloud Messaging or Apple’s Push Notification Service to deliver alerts to users.
Steps to Implement Notifications
- User Preferences: Allow users to set reminder times.
- Scheduled Tasks: Use cron jobs or task schedulers to trigger notifications.
- Delivery: Send notifications via email, SMS, or push notifications.
Considerations
- Respect user privacy and provide opt-in options.
- Ensure timely delivery to maintain trust.
How Do You Test and Deploy Your Digital Calendar?
Testing ensures your calendar functions correctly, while deployment makes it accessible to users.
Testing involves unit tests for individual components, integration tests for combined functionality, and user acceptance testing. Deployment can be done on platforms like Heroku, AWS, or Netlify, depending on your stack.
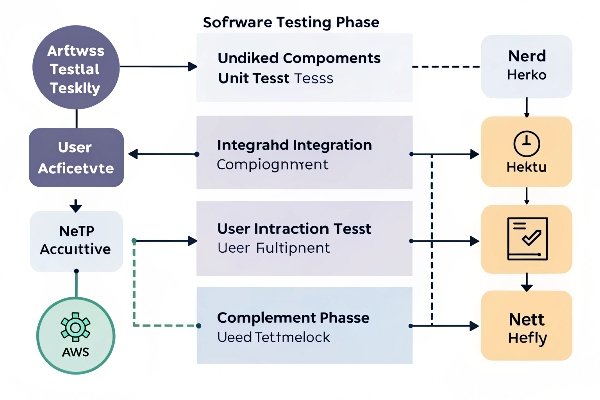
Testing Phases
- Unit Testing: Test individual functions and components.
- Integration Testing: Ensure different parts of the application work together.
- User Acceptance Testing: Gather feedback from real users.
Deployment Steps
- Prepare the Environment: Set up servers and databases.
- Continuous Integration/Continuous Deployment (CI/CD): Automate testing and deployment processes.
- Monitoring: Use tools to monitor performance and errors post-deployment.
Conclusion
Building a digital calendar from scratch involves careful planning, design, development, and testing. By choosing the right platform, designing an intuitive interface, selecting suitable backend technologies, integrating notifications, and thoroughly testing your application, you can create a calendar that meets users’ needs and stands out in the market.
For businesses looking to develop customized digital calendar solutions, Tech Family Solution Company offers expert services tailored to your needs. Visit www.techfamilysolution.com or contact Luna Wang at techfamilysolution@gmail.com for more information or to schedule a consultation.
